Tag: land
Adding plants that will attract ladybugs
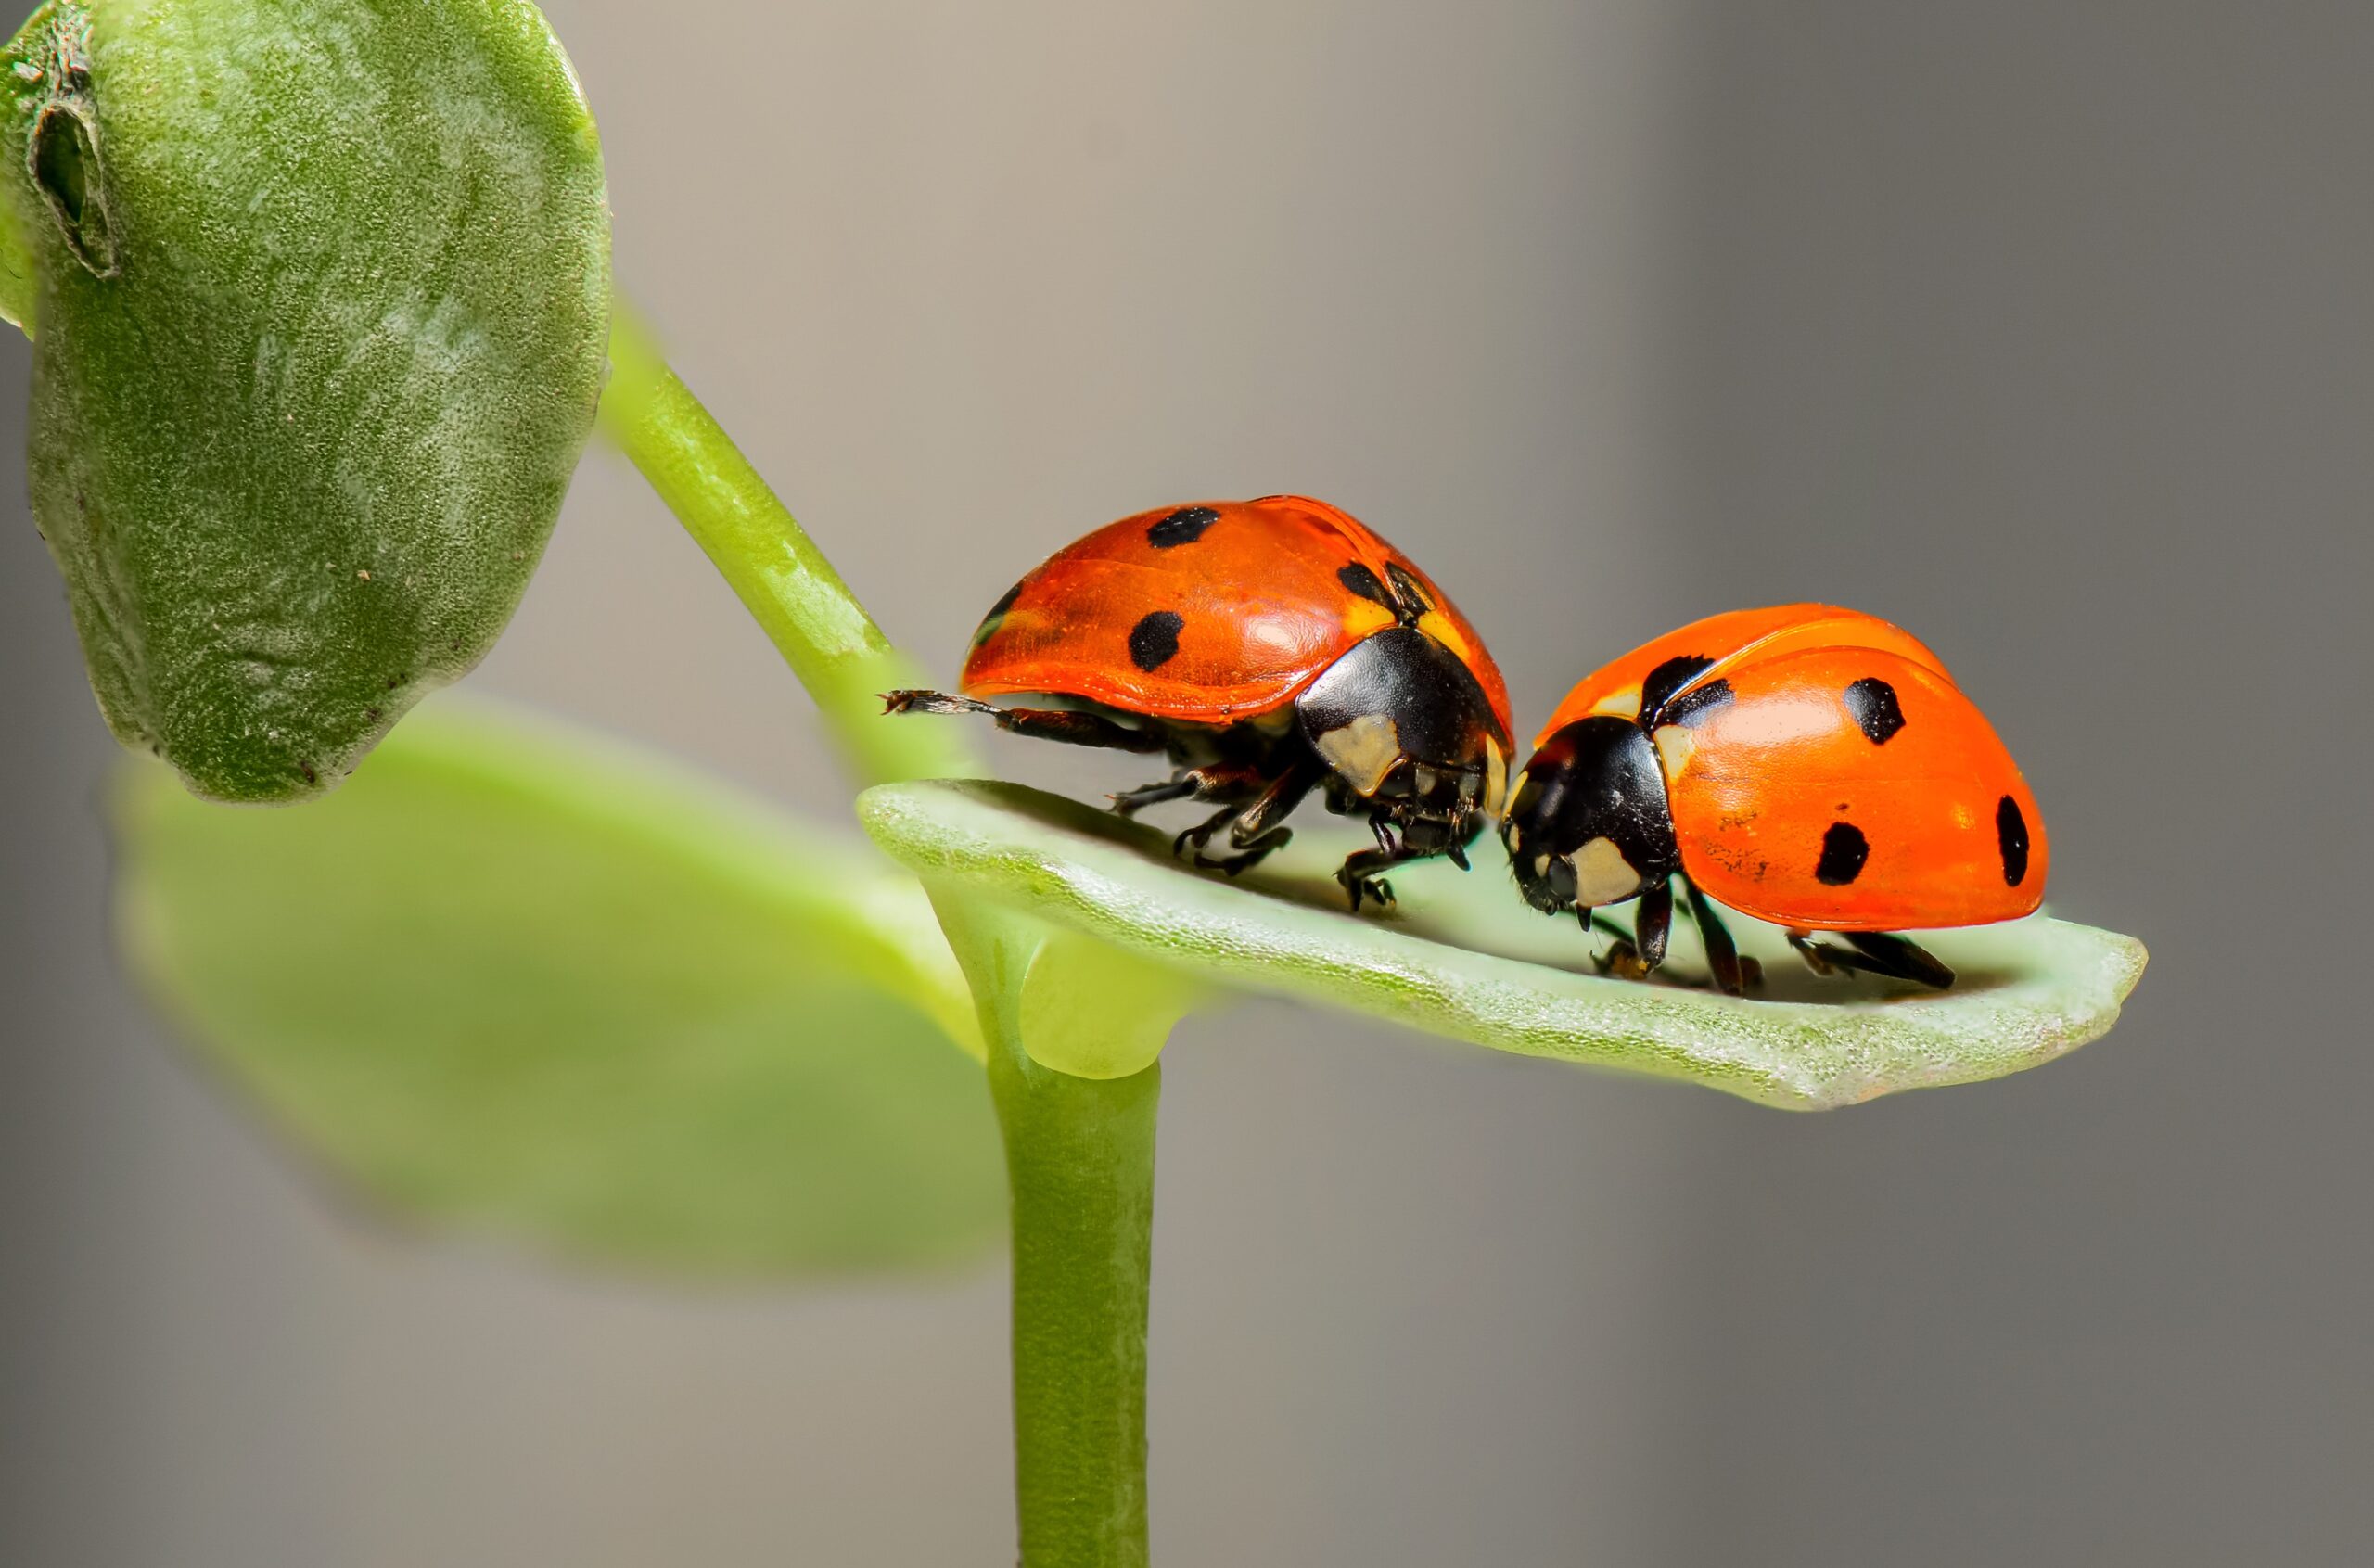
Ladybugs are beloved insects by many gardeners due to their ability to help control the pest populations. Ladybugs, also known as ladybirds or lady beetles, are predatory insects that feed on aphids, mites, whiteflies, and other pests that can harm plants. Attracting ladybugs to your garden can and will definitely be beneficial for both your plants and the environment.
One way to attract ladybugs to your garden is by planting the flowers and herbs that they are attracted to. Here are some plants that can help you attract ladybugs to your garden:
-
Dill: Dill is an excellent herb to grow in your garden as it attracts a variety of beneficial insects, including ladybugs. Planting dill in your garden can help attract ladybugs, which will help control aphid populations.
-
Calendula: Calendula is a beautiful flower that is easy to grow and can attract ladybugs to your garden. The bright orange or yellow flowers are known to attract ladybugs, making it an excellent addition to any garden.
-
Sweet Alyssum: Sweet alyssum is a low-growing annual that produces small, fragrant flowers that attract ladybugs. Planting sweet alyssum in your garden can help attract ladybugs, which will help control aphid populations.
-
Fennel: Fennel is another herb that can attract ladybugs to your garden. The yellow flowers that fennel produces are known to attract ladybugs, making it an excellent addition to any garden.
-
Yarrow: Yarrow is a hardy perennial that produces clusters of small flowers in various shades of white, pink, and yellow. The flowers are known to attract ladybugs, making it an excellent addition to any garden.
-
Cosmos: Cosmos is an easy-to-grow annual that produces beautiful pink, purple, and white flowers. The flowers are known to attract ladybugs, making it an excellent addition to any garden.
-
Sunflowers: Sunflowers are not only beautiful, but they can also attract ladybugs to your garden. The large, bright flowers are known to attract ladybugs, making them an excellent addition to any garden.
In addition to planting the flowers and herbs that attract ladybugs, you can also create a ladybug house or habitat in your garden. A ladybug house is a small box or container that provides shelter for ladybugs. You can purchase a ladybug house or make one yourself using materials such as wood, cardboard, or straw.
To create a ladybug habitat, place the ladybug house near the plants in your garden that are most likely to attract ladybugs. You can also provide a source of water for the ladybugs by placing a shallow dish filled with water near the ladybug house.
In conclusion, attracting ladybugs to your garden can help control pest populations and benefit your plants. Planting flowers and herbs that attract ladybugs, such as dill, calendula, sweet alyssum, fennel, yarrow, cosmos, and sunflowers, can help you attract these beneficial insects to your garden. Creating a ladybug house or habitat can also provide shelter and a source of water for ladybugs. By taking these steps, you can create a welcoming environment for ladybugs and enjoy a pest-free garden. Thank you for reading about how to attract ladybugs to your garden. Here are some other articles you may enjoy reading.
How to make your own moss pole
Tropical plants you can grow at home
The hardest plants to grow
Spring Bonsai Money Tree Giveaway
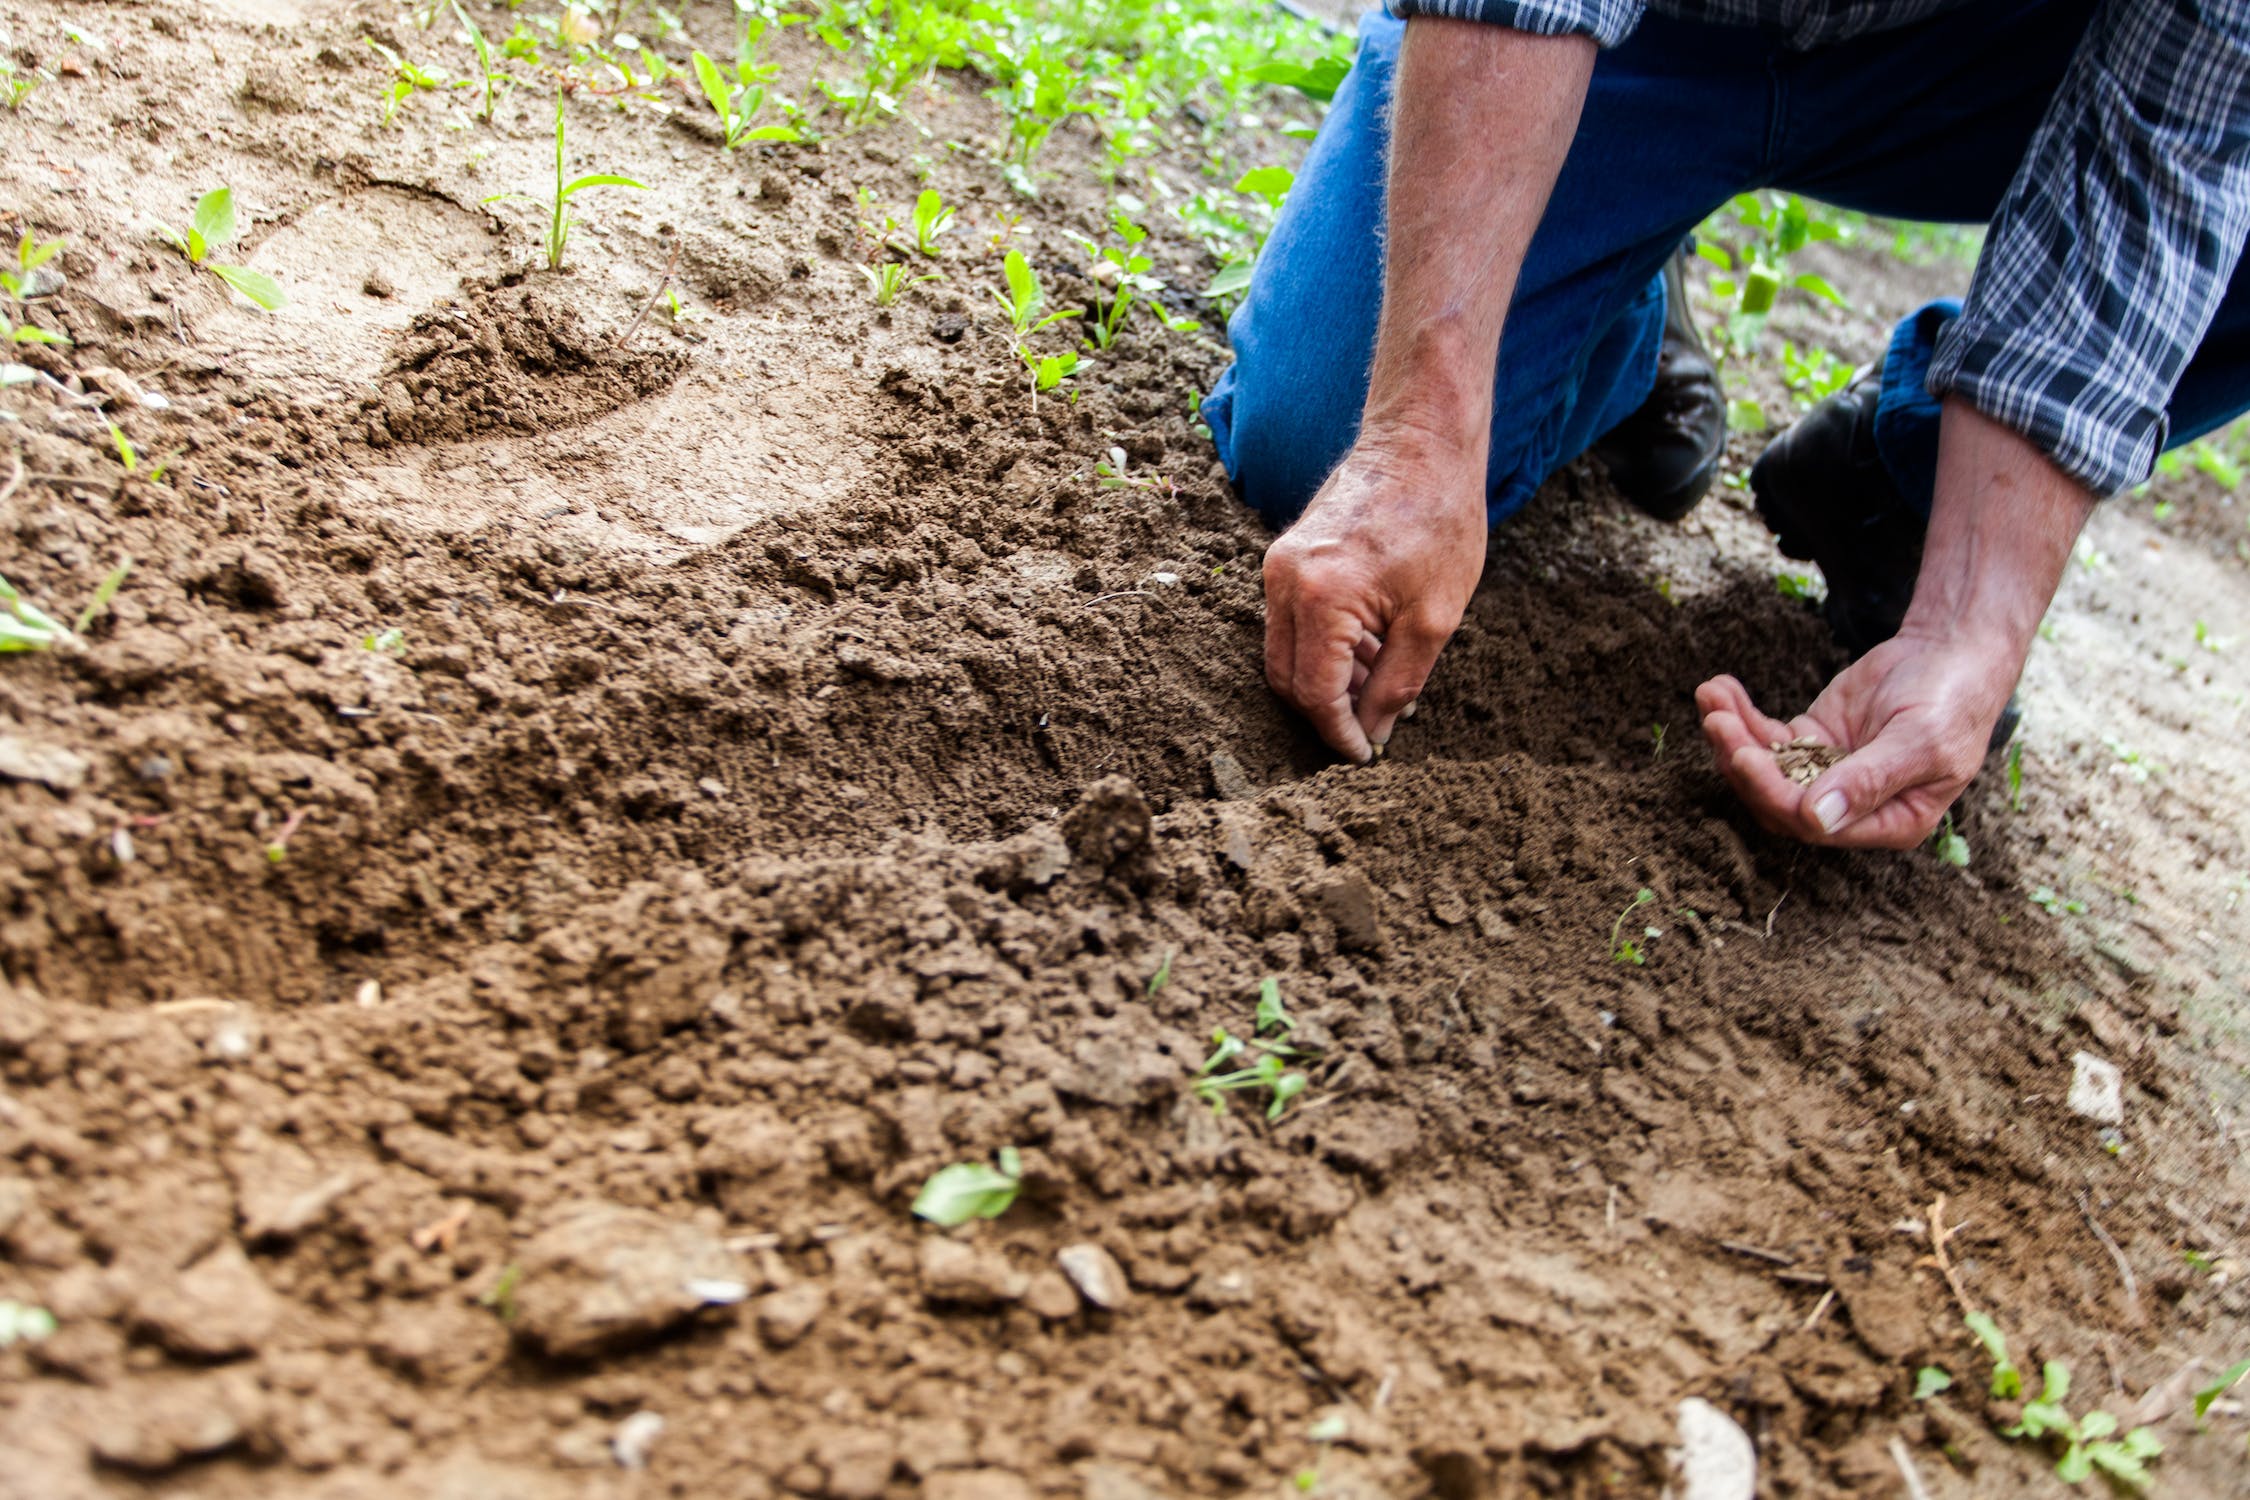
How to till soil by hand
How do you even begin to think about tilling a small garden without the use of a tiller? While the task can seem quite daunting, with just a few tools, and some basic preparation, you will have that small garden tilled in no time.
Tilling is just going to make it easier to get those seeds planted and give them the best possible chance to grow some roots and really get established nicely.
Now there is always the alternative to tilling which is called a no-dig garden or no-till garden.
No-dig gardens can work just fine, but they can also come with their fair share of challenges. The thought behind them is that you are leaving your topsoil in its natural state and you can build a healthier topsoil with organic fertilizers and or compost. Plus the obvious fact of not having to do the actual work of tilling or digging. That in itself is interesting.
But most of the time it’s really not an option to start a garden in a no-till fashion. Your plants and vegetables are just going to be bigger and happier in a garden that has been properly tilled.
Besides, it is almost impossible for a plants roots to really get deep into the soil and establish itself. Basically, if you aren’t tilling your garden, you are not going to get the best results that you would had you just tilled your garden to begin with.
Here are a few ways you can till your small garden by hand.
Use a quality garden hoe
A manual hoe doesn’t really cost much and you’ll be able to till the top layer of your soil relatively easily. Manual hoes are a great tool for loosening the soil for planting, and you can use them for planting seeds, covering seeds, and weeding. Use a push-pull hoe if you’re only wanting to get rid of weeds and till only a small amount of the top of your soil. It’s already hard enough to till your soil by hand, so do all you can to make it easier on your body. The added handle on this garden hoe really makes a big difference to reduce the strain on your body so you can work longer with less fatigue. And the 54″ shaft gives you added reach. That’s the smarter way to do yard work.
A shovel
If you have a clay or rocky soil, you may want to look into specialized methods for that as this isn’t something that you will want to try with a shovel. If you have a sandy or relatively loose soil then a shovel will work just fine. Mark your area and dig away. Start small and take your time. Flip the soil and break it up thoroughly.
Raised Beds
If you really don’t want to till, or maybe you just can’t, build on top of it! If your soil is so poor that you cannot grow straight into it, grow on top of it in a raised garden bed. You can get a basic cloth garden bed like this one that is both economical as well as extremely easy to set up. You can get a wood raised bed in almost any color or species of wood that you could want. Or you can go with a metal raised bed to get more of a country feel to it.
A Pitchfork
A pitchfork is going to work really well if your soil is relatively loose already. It’s going to be able to break up the soil fairly easily with less work than other hand tools. You will be surprised just how easy it is to till your soil with this method.
A Garden Weasel
The garden weasel line of products really will help you get your soil tilled effectively. They have several products that will all make less work out of that garden preparation that we all dread doing. They are ergonomic and well made so you won’t have to worry about them breaking after a few seasons.
Conclusion
When thinking about tilling our garden, we rarely think about doing it by hand, but with some of these techniques and tools, you can easily till your small garden in no time at all. You won’t need a big expensive piece of machinery to get it done and you probably already have the tools you need in your shed right now. Thank you for reading How to till soil by hand. Here are some other articles you may enjoy.
3 Ideas To Beautify a Small Garden Space
How to prevent weeds from growing in your mulch
Are you tired of dealing with those annoying weeds that are consistently growing in your mulch? Of course you are! At times, it really can feel like an endless battle and at times it is. You get everything cleared out and looking pristine and then the very next day, there is something sprouting up that you did not plant. Frustrating? Absolutely. So what do we need to do to finally put a stop to this never ending supply of weeds? Let’s dig a little deeper and see what solutions we can find. We have compiled a list of a few things that will hopefully help to keep all of your landscaping and garden areas free of those pesky weeds.
1. Prior to installing mulch, make sure you do a very thorough job of getting rid of all the weeds you can find. Really try to take your time here and make sure you have scoured the grounds well. Also, remember that if you are pulling weeds by hand, you really will want to be sure that you get the entire root of the weed. It’s very easy to pull the weed and have it break off where the roots start. This will not be good enough to get rid of the weeds. You have to get the root! IF you are going to use a chemical weed killer, this is the time to do it although you really should try to use natural methods as much as possible & stay away from using chemicals. Boiling hot water will have the same desired effect without the worry that comes with using chemicals. 
2. This seems like an obvious one, but make sure you install and secure your landscape fabric prior to installing your mulch. Again, take your time and really make sure it’s laid down nicely and very secure in it’s position. Make sure you use some type of landscape fabric stakes. Don’t just assume that the weight of the mulch will be good enough because it definitely won’t be.
3. Make sure you buy a quality mulch. We have all heard the phrase, “you get what you pay for” and mulch is no exception. Don’t get the cheapest stuff. Yes, it does make a difference. You will want to look for shredded bark mulch, wood chips, cocoa hulls, or pebbles / stone.
4. Install your plants, but also try to use some ground cover as this will help to smother any potential weeds. If you are not sure exactly where you are going to plant everything, try drawing up a map so you can at least have a solid idea what it will look like when you are done and you will know exactly where to place everything so that it looks proportionate.
5. Install a brick border between your lawn and your landscaping. Not only is this going to look really nice, but it will also help to keep things where they are supposed to be.
6. Keep your lawn free of weeds as well. It’s much easier for your landscaping and garden to stay free of weeds if your lawn is free of weeds as well. Products like these will help you to keep your lawn pristine.
7. Try to only water specific plants. When you use a sprinkler that just gets everything wet, you are giving the weeds a chance to get established as well. This is not the easiest method to deal with, but it is something to consider.
Still having issues with the weeds growing in your mulch? or maybe you just don’t have the time nor energy to deal with it? Consider hiring a professional. They deal with these issues every day and will know exactly how to approach your specific situation. This will also free up some time for you to devote to things you truly enjoy!
Other articles you may enjoy
-
Best Plants for Beginning Growers
-
The Best Gardening Gloves
-
How to Plan a Garden Layout
-
How to Get Rid of Ants
-
12 Ways to Prepare Your Garden for Winter
Why does my grass have different shades of green?
Is your lawn showing different shades of green despite being laid out at the same time? Many folks attribute dark green grass to signs of good health and feeding, but when it turns lighter or pale, the alarm bells go off.
If your lawn is each of both worlds, there are several reasons why this can happen. Read carefully as this article outlines several factors that might be afflicting your garden.
Why does my grass have different shades of green?
The Lawnmower Effect
First, do not panic. It might actually be a scientific phenomenon caused by you and your lawnmower. Have you ever wondered why the grass on a football pitch appears to be split between the light and dark green hue?
Well, this is caused by the lawnmower traveling in different directions when cutting the grass. If the blades fall in different directions, the angle of the reflected light is scattered, resulting in a difference in depth.
This might be the scenario on your lawn and is no cause for worry.
Uneven Spread of Water
Lack of water can cause the grass to appear dry and pale. It could be that something is wrong with the irrigation system, the sprinklers do not overlap well or there is one clogged.
On the other hand, excess water causes grass roots to rot and then turn lighter. If this is the case, simply improve the soil structure with a specific substrate for meadows, and establish a drainage network if it is a very large area.
Due to excessive moisture in the soil, rot develops, which can kill the seeds even before germination. To prevent this from happening, before sowing, treat the seeds with fungicides, then the destructive effect of rot will be reduced.
Alternatively, you could aerate it. If the lawn shows symptoms of suffocation due to excess water or poor surface drainage, small holes must be opened in the surface of the earth to get the air to penetrate to the roots of the lawn (about ten centimeters) and fill them with sand.
Lack of Nitrogen
The simultaneous appearance of both slow growth and paleness in color indicates a lack of nitrogen. To counter this, it is best to use liquid fertilizer, but in the lowest concentration possible from the range indicated on the package.
For example, if a package weighing 0.5 kg is recommended to be applied on 5-10 m2, then its contents should be distributed over an area of 10 m2.
Note: the recommendations are valid only if you observe this deficiency in the spring. In the fall, fertilizing with nitrogen-containing agents is strictly prohibited.
Compaction
Over time, grass generates a large number of dead roots at its base, which end up creating a compact waterproof fabric, which prevents proper aeration. If you have had a lawn for a while, this might be the reason behind this eyesore.
It can be avoided by ‘scarification’, a task that is usually practiced at the end of summer and winter. It consists of a superficial scratching of the ground with a specific tool. This process should always be done on a freshly mowed meadow without traces of waterlogging.
Fungal Diseases
The fungus appears as isolated spots that are increasing, but they are very varied and, therefore, difficult to manage. It is best to consult with a specialist in your garden center or ask your well-versed neighbor about the appropriate treatment to stem this nuisance in the bud.
Excess Chemical Fertilizer
An overdose or poor distribution of mineral fertilizer with excess nitrogen causes burns and yellowing. If you have gone over the dose, water copiously. We have full guide on how to use fertilizer on your garden.
Inappropriate Organic Compost
If you are tilted towards organic compost in place of fertilizers, inexperience might be the reason behind your lawn’s lack of lushness.
When applying, spread the compost evenly and try not to use badly decomposed manure mulches, as this can burn the meadow and fill the garden with unpleasant odors and uneven color.
Poor Seed Germination
The origin of this discrepancy can most often be attributed to poor seed germination. However, other reasons are also possible:
-
For example, if the soil was improperly dug up and the subsoil was turned upwards, then in some places of the lawn, fertile land may be absent. This is where the seeds will die due to lack of nutrients and give your lawn an uneven coloring.
-
The harmonious development of seedlings can be suppressed by extreme weather conditions (e.g. drought or heavy rains).
-
If the sown land is not covered with a net, then the crops can be pecked out by birds.
Lack of Sunlight
Is there a tree or fence beside the part of the grass lacking in color? Then this might have obstructed the grass’s path to getting vital rays from its number source of energy, which is even more vital to their coloring.
Blackleg
One of the reasons for an uneven appearance might be blackleg, a disease of stem cuttings that turns grass yellowish-green. Blackleg most often develops with thickened crops or during periods of excessively wet weather. Of all lawn grasses, bentgrass is the most sensitive to this disease.
Blackleg pathogens can infect both above-ground and underground parts of young plants. The source of infection is plant residues in the soil (or on its surface). If urgent measures are not taken, the disease will quickly spread throughout the lawn.
To curb this, water the stain and the area around it and ruthlessly, no don’t be nice, remove diseased plants.
Building debris or animal feces buried in the ground can give rise to a yellow-greenish spot on the lawn since the chemical composition of their waste products is destructive to any plants.
Weeds
That part of your lawn whose color doesn’t seem to be unanimous with the rest of the grass might actually be a parasitic weed and not your plant in actuality.
Weeds can turn out to be one of the most serious troubles, but only if you do not know how to competently resist the attacks of these green aggressors.
First, when laying the lawn, it is necessary to remove all visible roots of perennial weeds. Then, gradually and very carefully, open the area of the future lawn and remove the previously invisible roots, but now appeared on the surface.
Ideally, wait a couple of days and repeat this procedure. And only after that sow the area with grass.
How to Give Your Grass An Even and Consistent Green Color
No matter how many guesses or hypotheses you make, you might never be able to determine the cause of different shades of green on your lawn. Thereby, it is important to seek the most effective ways to give your grass a more even green that your neighbors will be jealous of.
While it is necessary to treat your grass when it is damaged, your best bet is to prevent it from getting damaged. For this, regular maintenance is necessary.
Lawn Mowing
The first step to avoid an uneven-colored lawn: mowing. It allows the grass to grow better, stronger while maintaining its lush green.
For this operation to be effective:
Mow at least once a week, or even every 4-5 days if you have time.
You should mow your lawn throughout its growing season, that is, the time of year when it is actively growing. This period extends from February-March to October-November and can be shorter or longer depending on the region and the climate.
Be careful, your lawn will take on a pale tint if the sharpening of your mower blade is bad.
A badly sharpened blade cuts irregularly, even tearing some blades of grass. This degrades the leaves and causes a yellow-greenish color, which gets worse when the weather is very dry.
To remedy this, simply sharpen your blade and then continue mowing regularly. The grass should recover its color.
Lawn Aeration
Do you know that when humans are suffocating their faces turn pale? Well, this is also the case with grasses.
To solve this, simply aerate the soil. This helps prevent the soil from settling, which can suffocate the grass. To do this, you can:
Use an aerator roller
This is a tool bristling with spikes that dig into the ground, making small holes that allow it to better receive the air.
This roller is especially useful if you have a large area of lawn. It saves time and spares you unnecessary effort.
Use aerator pads to attach to your shoes:
Equipped with spikes, they allow you to aerate your lawn simply by walking. These skates are rather reserved for small surfaces.
Lawn Scarification
Scarification involves removing dead grass stagnant on the ground (also called felting), to rejuvenate the lawn:
To perform this operation, you will need a scarifier:
The Electric variant is best for large surfaces, while the more affordable manual better suits smaller surfaces.
This tool, equipped with teeth, loosens the dead parts of the lawn from the ground which suffocates the living leaves. After completion, it is then necessary to pass a rake to collect the waste.
Only one operation per year is sufficient, and its use is useless for the first 2 or 3 years. Thank you for reading Why does my grass have different shades of green?
Other articles you may enjoy reading
-
Best Lawn Leveling Rake buyers guide
-
The Best Gardening Gloves
-
Best Gazebo for High Wind Conditions Review & Buying Guide
-
How to Get Rid of Ants
-
What are the 20 most common gardening tools?